After finishing the whale tooth and putting in on the stand, I realized that the scarab bead didn't look right. It was crudely carved and the color was too bright, and detracted from the tooth itself. So I removed it and to cover up the mark on the base I engraved a small 19
th century looking black plate with gold lettering.

For the tooth I molded a sperm whale tooth that I had acquired years ago, then cast it in a polyurethane resin. I then sanded down the resin tooth smooth where the scrimshaw was to go, and engraved two steampunk scenes. This left the real ivory tooth undamaged. One side of the tooth shows a giant squid attacking the airship
Gryphon.

And the other side shows a steamy mermaid. Here is the story I wrote to explain the history of the piece:
The old Chinese man loved his opium pipe more than any other thing on earth. Because of his devotion to it he had never married, and had long ago lost contact with his family. He had finally found his place in the world on a whaling ship, working as a cook, which allowed him ample time to enjoy his indulgence. It was here plying the seven seas that he learned the art of scrimshaw, scratching a design into a whale tooth, then rubbing lampblack into the marks to make it legible.
It was while in an opiate stupor that he saw the most amazing sight of his life—a giant squid attacking the airship Gryphon. He alone saw it, and the whalers laughed at his tale, but the old man swore it was true, and set about to record the event in bone. On the flip side of the tooth he copied a tattoo worn by one of the sailors, portraying a mermaid in steamy attire—wearing a corset with a set of goggles on her head, and carrying a raygun in her hand.
The old man lost his life while the ship was docked in Alexandria, stabbed to death in a knife fight while gambling in the seediest part of the city. His few possessions were scattered, and his scrimshawed whale tooth—his most precious belonging after his pipe—ended up in a curio shop. The owner paired it with a small display stand which fit it perfectly. It was a bronze casting which portrayed the Egyptian god Horus and lotus blossoms, mounted on a wooden base. He had a small plaque engraved which reads “The Attack of the Giant Tentacled Sea Monster”.
I have more pictures on my
Etsy shop.


 These giant sized paper glasses are my beginning attempt to work out the pattern for the goggles. This is going to take a lot of trial and error to get it right.

 For the tooth I molded a sperm whale tooth that I had acquired years ago, then cast it in a polyurethane resin. I then sanded down the resin tooth smooth where the scrimshaw was to go, and engraved two steampunk scenes. This left the real ivory tooth undamaged. One side of the tooth shows a giant squid attacking the airship Gryphon.
 I proceeded to cut the design out of a sheet of plastic, and engraved the outline. The Horus pieces are made up of two layers of 1/8" acrylic glued together.
 I then glued the parts together and made a silicone rubber mold. From the mold I cast the finished part out of cold cast bronze. The part in the photo is right out of the mold, with the bottom gate still attached, and the piece unpolished.
 I gathered together the other pieces of the display stand: A walnut base, a turquoise colored scarab bead, and a square headed bolt (for that antique look) to hold the bronze casting to the base.
 Here is the finished display stand. The bronze casting of Horus has been polished.
 In this other view you can see the lotus blossom supports. My next blog will show the scrimshawed whale tooth along with the story behind the project.

 Here is the plastic helmet as I bought it.
 After thinking about how to break it up into separate leather pieces, I taped it all over with duct tape to make the patterns, and marked the divisions.
 Here I've cut off the duct tape using an Xacto knife, and laid it down on heavy paper.
 Next I've smoothed out the lines, removed the duct tape, and cut out the heavy paper patterns.
 Next using the patterns I cut out the leather pieces, and punched the stitching holes, along with snap and buckle holes. I am leaving the front piece that covers the mouth removable so that the wearer can take it off for eating, etc.
 From top to bottom: A toy cap pistol with good metal parts and a very crude wooden handle; a timing light, all shiney chrome; and an old water sprayer. With a little bit of fixing up and love, these can be made into rayguns. The top one will make a nice air pirate pistol, and the timing light will make a nice futuristic firearm.
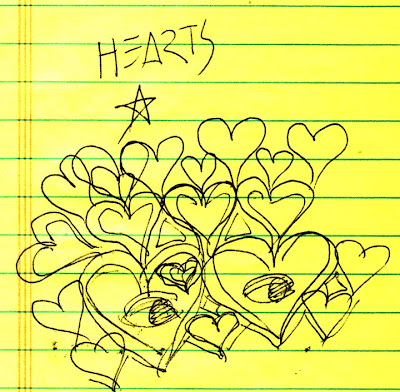
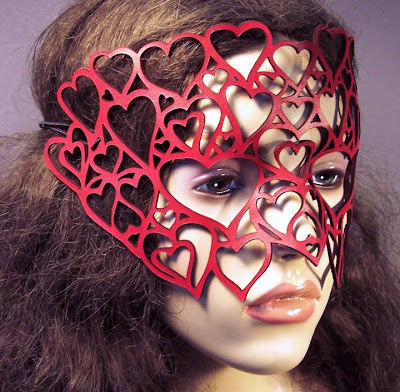
 Spring is almost upon us, and leather mask sales should pick up as buyers think about what they're going to wear at music festivals. Above is my first sketch of an idea for a new mask, consisting of a whole bunch of cut out hearts. I drew this right before turning out the lights for bed. The star means I think it's a good design.
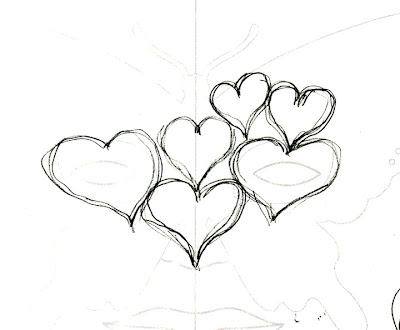
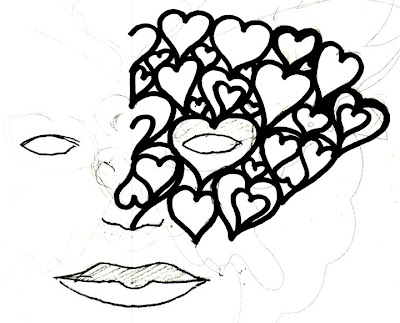
 Here I have fleshed out the idea, and after penciling in all the hearts on one half of the face, I have inked them in. Next I scanned this image and brought it into Corel Draw, where I fine-tuned it and mirrored it for the other half of the face.
 My son and daughter-in-law got married last Spring, and I finally finished a leather photo album for them. There is a baby coming this Summer, and I'm planning on making an album for him too. The floral design on the cover—as well as all the lettering—was laser engraved into vegetable tanned leather that I painted white for contrast.


